How to Render Lard
Oh Lardy! is a participant in the Amazon Services LLC Associates Program, an affiliate advertising program designed to provide a means for us to earn fees by linking to Amazon.com and affiliated sites.
So, I have had some leaf lard sitting in my freezer for a few months. Rendering that lard has been on my to do list for quite some time. Honestly, I don’t know what I was waiting for. Since this was my first time, I think I was nervous about the process. Friends, it couldn’t be easier.There are TONS of tutorials online about how to render lard. And all of them are pretty much the same. Chances are, this tutorial will fall in the ranks with the rest. However, I am going to give you a few tips I wish I had when I was rendering. Okay, let’s get started.
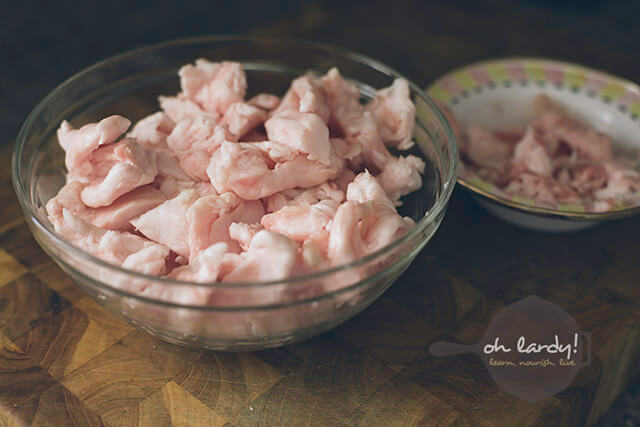
First, grab that leaf lard of yours and trim it. You want to cut off any meaty or bloody bits that remain on the fat. If you leave it on, your lard will have a pork odor about it. The goal here is NO odor. After you trim off any unwanted bits, cut it up into small pieces. The pieces here aren’t small enough. Next time, I will make them much smaller.
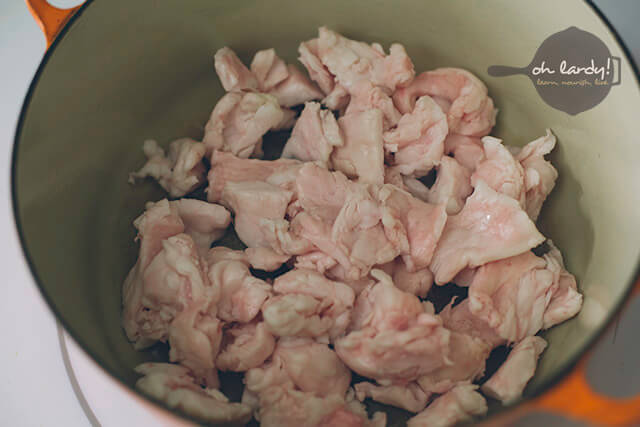
Throw your fat into a heavy bottomed stockpot along with some water. For this recipe I had about 1 and a quarter pounds of fat and used ¼ cup of water. Turn your burner on low and watch your lard render. To be clear, I kept my burner set just above low. I was nervous about burning the fat. The low temp worked out well for me. You can stir it every so often as well.
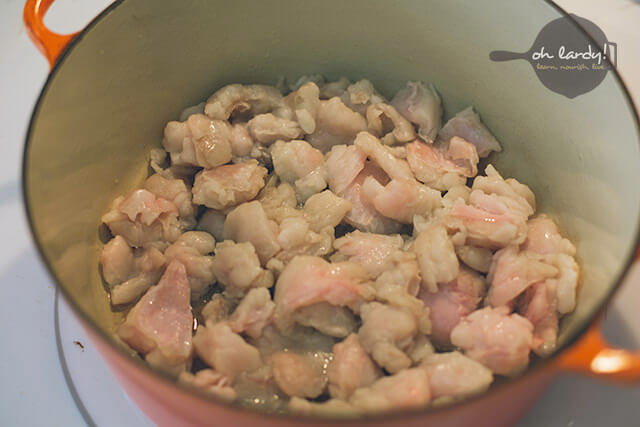
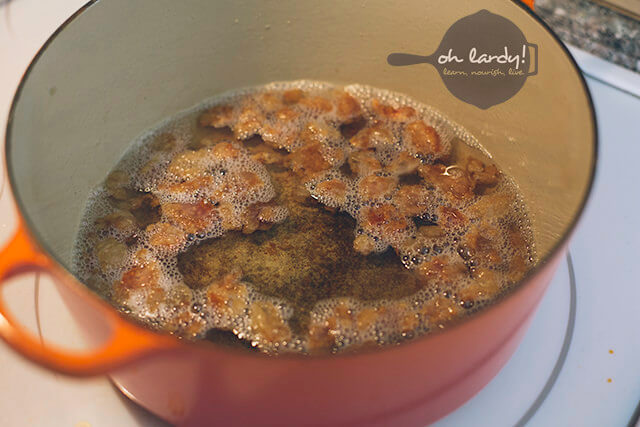
After about half an hour, this is what your fat will look like. Everything is starting to melt and the process is coming along nicely. Don’t get too excited, we still have a ways to go.
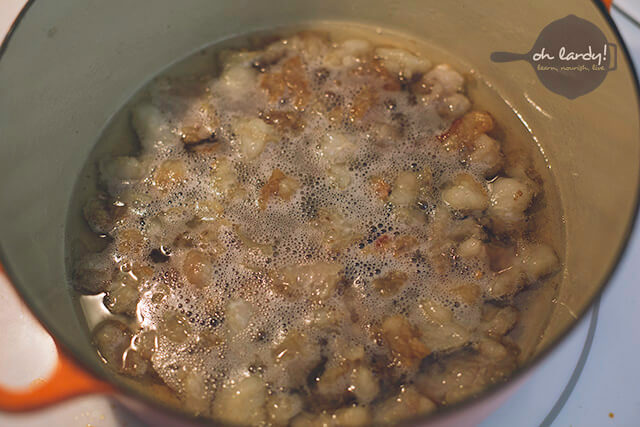
An hour later, things are really moving. You have a nice collection of rendered fat. At this point, spoon off as much as you can. This is beautiful lard that will solidify into a white odorless fat. Do it. I didn’t. I wish I had. Continue to spoon off your fat when you can if you are going for the odorless lard that is perfect for pie crusts.
Here is my lard an hour and a half later. The cracklings are still floating, indicating there is more fat to render. Be patient, we are almost there.
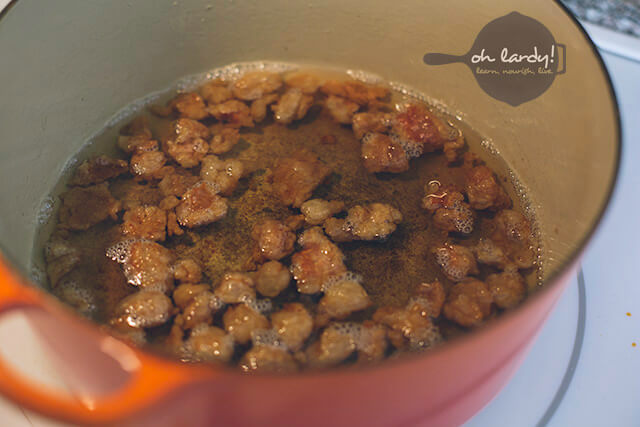
Now 2 hours have passed. We are almost there! However, take a moment to notice that the fat has started to become discolored. At this point, I fear that my cracklings were starting to burn therefore adding a color, taste, and odor to my lard. This is still good lard to use. I will use it for frying and sautéing. Just not in pie crusts.
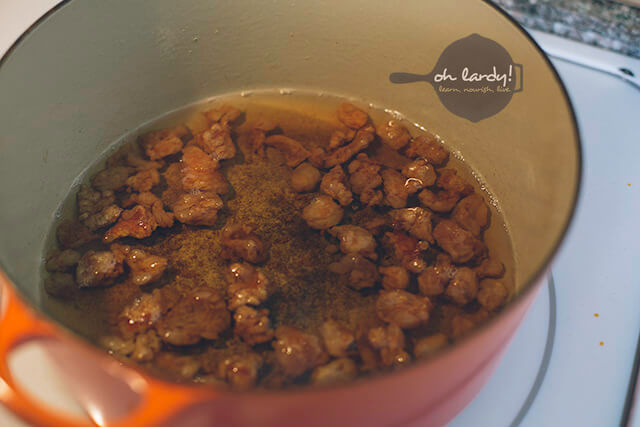
Finally! 2 and a half hours later, my cracklings finally sank indicating that the rendering process is complete!
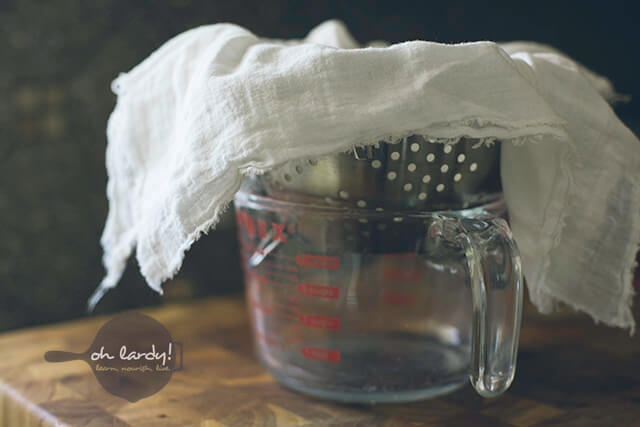
At this point strain your lard through a cheesecloth to catch all of the crackling bits.
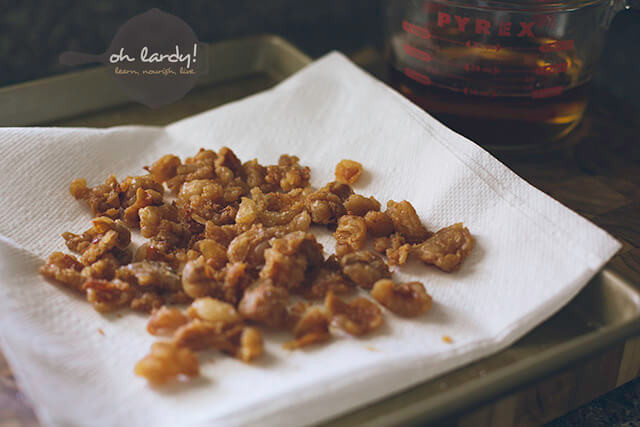
I drained the cracklings on some paper towels to snack on later and save for a future use. However, after tasting one, I threw them away. They were a bit…not good. This is where I think cutting the fat into smaller pieces would have helped. The small cracklings that I strained were awesome! The big ones, not so much.
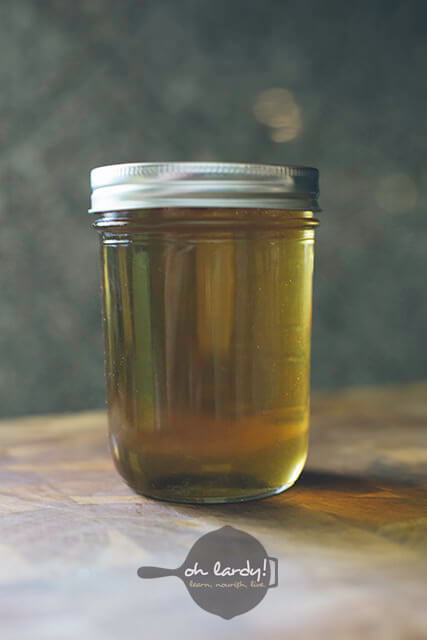
Pour your lard into a jar and allow to cool. See that golden color? I think it is too golden. I know that rendered lard will have a golden color, just not so dark. I popped my jar in the fridge.
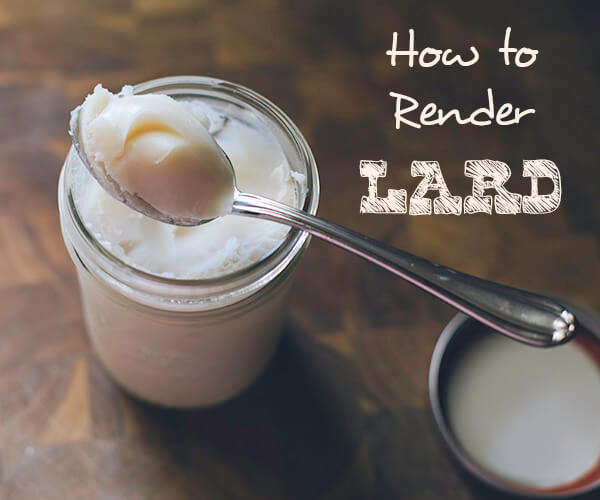
When cooled, rendered lard will become white and if rendered properly, odorless. This lard definitely has an animal fat odor to it. No matter though, it has been a dream to cook with. I just won’t be making any pies with this batch.
So, there you have it. If you have some leaf lard in your freezer, what are you waiting for? While lengthy, this process was very simple. I can’t wait to try it again!
Do you have a favorite method for rendering lard?
wonderful tutorial! Just out of curiosity, do you know approx. how mach rendered lard this recipe ended up making?
This recipe filled a 1-pint mason jar.
What is leaf lard?
Leaf lard is the fat located around the kidneys of a pig. It is favored over other pig fat because it yields a flavorless and colorless pure fat – excellent for pastries!
I just wanted to clarify: the rendering process took 2.5 hours? I wasn’t sure if your times for each photo were from the start or the previous photo. Thanks!
Yes, it took about 2 and a half hours from start to finish. I think it would have gone quicker had I cut the lard into smaller bits. Next time I make it, I will update this tutorial with what I found out!
I have had wonderful success rendering beef tallow in a crockpot. I cut all the meat & tendonous bits off the fat cubes, and then just food processed the (still pretty cold) fat for a couple of seconds to get smaller bits. Then I just plop it all in the crockpot and set it on low, and leave it all day, checking it periodically. When all the fat has melted and the cracklins are at the bottom, I strain it and voila! Perfect, odorless fat. The only drawback is that the cracklins don’t come out crispy, but rather pretty soggy, so they don’t make the best snacks. I might try to throw them in the frying pan next time and see what happens.
Hi, I tried this method today, spooning off the fat going along. My lard still stinks. I know I didn’t over cook it. Could it just be the pig was stinky? This was my first time doing this. Tx
I did have it in different ways and always comes very well and much better than any I previously bought in the store. That this provision is also great, tested and I can recommend it. From myself I will give even such ideas http://www.open-youweb.com/jak-zrobic-domowy-smalec/ They may also be useful for seasoning. And can someone answer me how long it can be stored in the refrigerator?