How to Can Tomatoes – Our Guide to Canning Tomatoes
Oh Lardy! is a participant in the Amazon Services LLC Associates Program, an affiliate advertising program designed to provide a means for us to earn fees by linking to Amazon.com and affiliated sites.

Summer is almost over and sadly, garden fresh tomatoes are coming to an end (at least in Chicago)! To preserve your bounty, waterbath canning is an easy way to go! I like to can some of my summer produce because I can keep it either in my pantry or a shelf in my basement until ready to use. It doesn't take up precious space in my freezers and refrigerator.
I just started canning tomatoes last summer. I used many of the tutorials on this site to help me learn. It can be overwhelming to start, but I'd recommend giving it a try! It was a lot of fun last summer and all winter I was enjoying preserved summer goodness!
I wrote about a bunch of ways I preserve my tomatoes in an earlier post. I promised a comprehensive canning tutorial…here it is! This is how to can tomatoes.
Materials Needed:
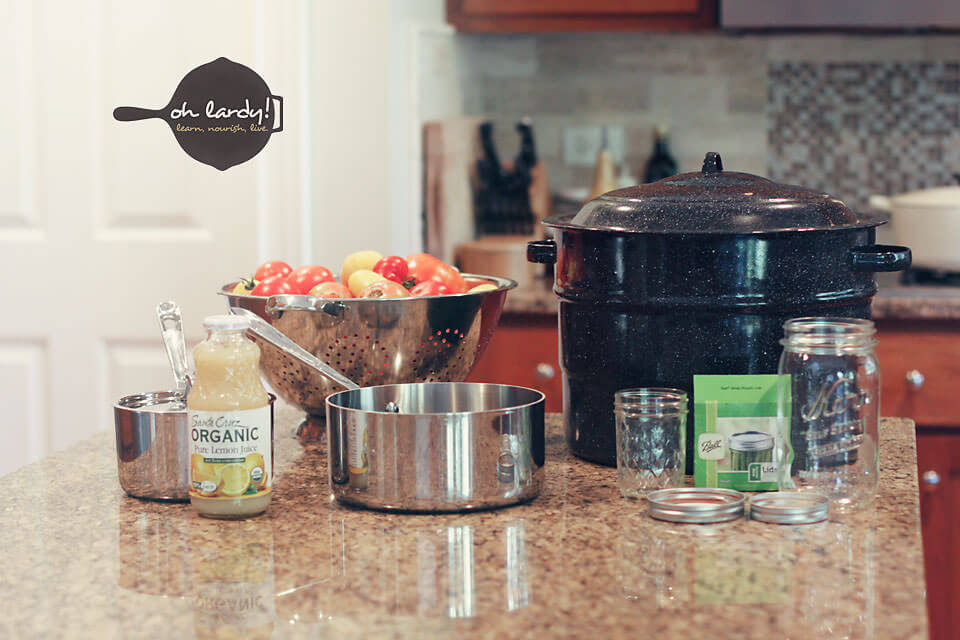
- Tomatoes (20 lbs=about 7 quarts; I did 10 lbs in the video for 3 qts, 1 pint)
- Lemon Juice (I use bottled, organic)
- Mason jars (I like wide mouth, quart size)
- Lids and rings (these come with new mason jars. Lids can not be reused. Rings can be reused).
- Water bath canner with basket
- Large saucepan of boiling water for peeling tomatoes
- Medium saucepan of boiling water or tomato juice to fill the jars
- Small saucepan of simmering water for heating lids and rings
- Helpful tools: funnel, spatula (for removing air bubbles), lid lifter magnet, jar grabber (these come in most canning kits or can be purchased separately)
- sharp knife (for scoring tomatoes)
- mixing bowls and (optional) strainer
- ladle
- clean towel or paper towels
Preparation:
- Sterilize your jars: I find the simplest way to do this is in my dishwasher. I run the dishwasher a few hours before I am going to can (I choose normal wash, ‘sani cycle', heat dry). I leave them in there until I am ready to use them. You can also give them a dunk in boiling water, if that is better for you. They need to be clean AND warm when you use them.
- Fill your water bath canning pot about halfway with water, set on stove and get it heating. Needs to come to a boil and this can take a bit of time.
- Get your medium saucepan of water or tomato juice on the stove to get it to a boil.
- Get your small saucepan of water heating to a simmer, and put in lids and rings.
Peeling and Seeding Tomatoes:
- Wash your tomatoes.
- Bring your large sauce pan of water to a boil. Have a large mixing bowl full of ice and water ready.
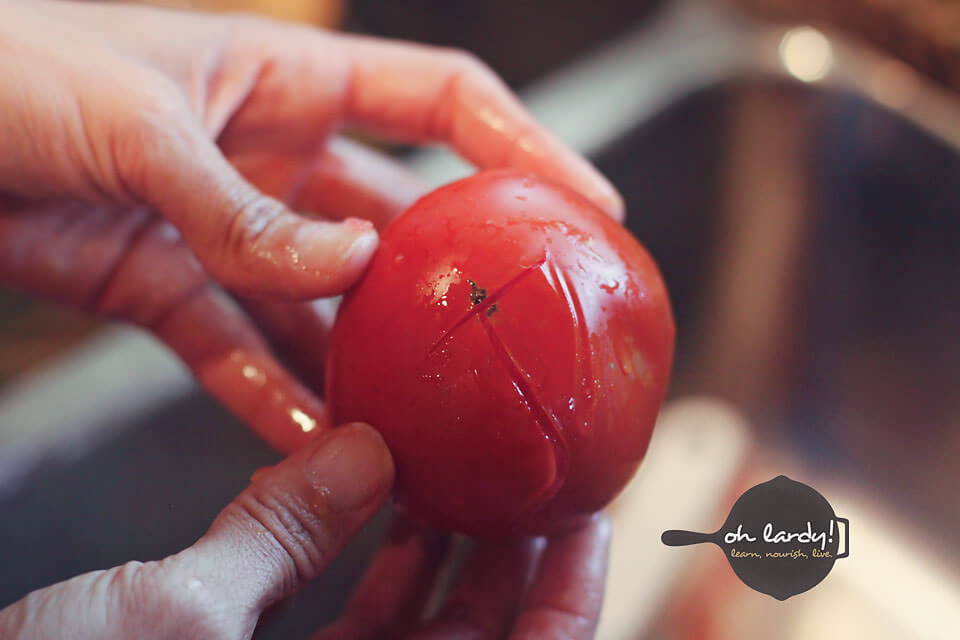
- Score the bottom of each tomato with an ‘x'. Drop several tomatoes in the boiling water for approximately 30 seconds (no more than a minute).
- Remove from hot water and immediately submerge in ice bath. Let sit for 30 seconds or so (until they are cool enough to handle) The peels should peel off quite easily.
- I peel the tomatoes, cut out the core and squeeze out the seeds. You can do this in the sink or (if you want to save some tomato juice) do it over another mixing bowl with a colander. (I like to save the juice for cooking or I add it to the medium saucepan of boiling water to be added to the jars)
- I like to can halved or quartered tomatoes, so I usually just tear them into the proper size (half for smaller tomatoes, quarters for larger). You can keep the tomatoes whole if you'd like. I put all of my prepped tomatoes in a mixing bowl.
- Remove the jars from the dishwasher. They should be clean and warm.
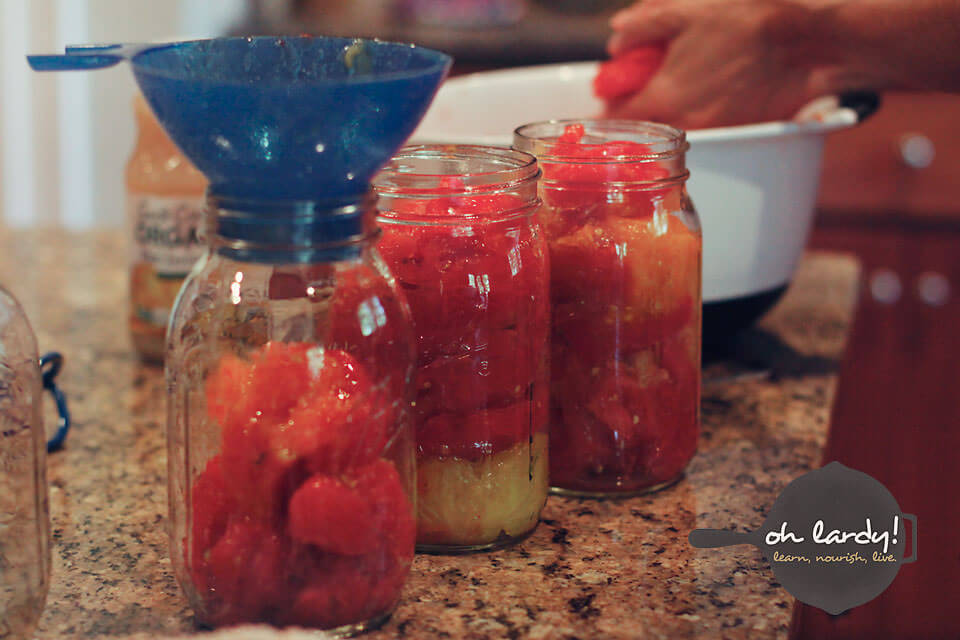
- Using a funnel fill the jars with tomatoes. I like to fill the jars without over packing them. If you like to keep your tomatoes whole, fill the jars with minimal
‘squishing'. - Add 2 tbsp of lemon juice to each quart of tomatoes (1 tbsp per pint). This is important as it adds acidity and helps to keep them preserved
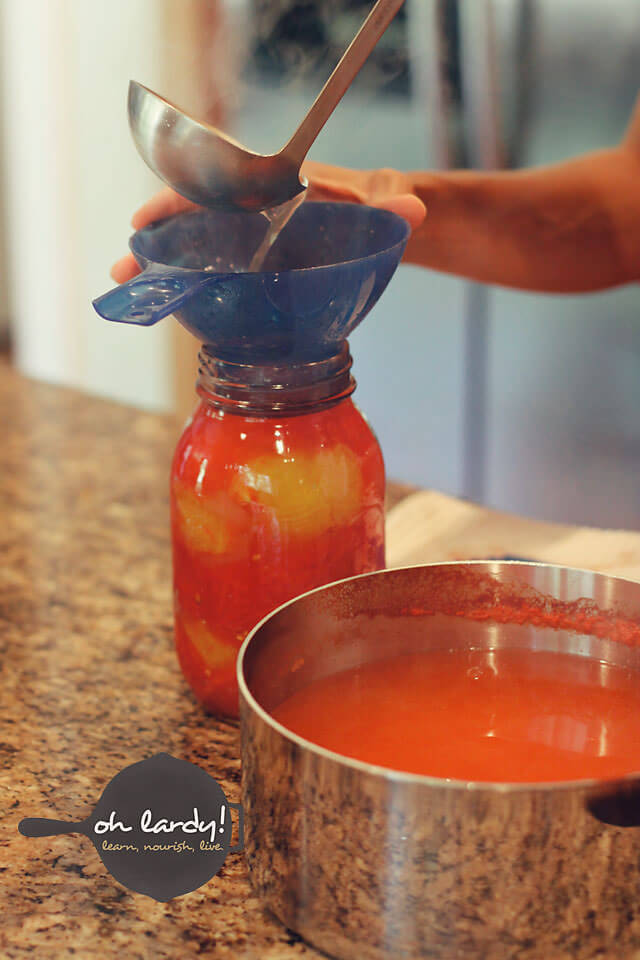
- Take your medium saucepan of water or tomato juice and (using the funnel is helpful) ladle the hot liquid into the jars. Use the spatula (or a wooden spoon or knife works well) to press around the sides to release any air bubbles and ensure that the jars are full of tomatoes and liquid.
- You want to leave 1/2 inch of headspace once you have your tomatoes and liquid in the jars. You can measure from the top of the jar or you can consult the image below.
- Wipe the rims of the jars with a clean towel to ensure a good seal
- Remove rings and lids from small saucepan with lid lifter. Put them on the jars and screw on well, but not overly tight.
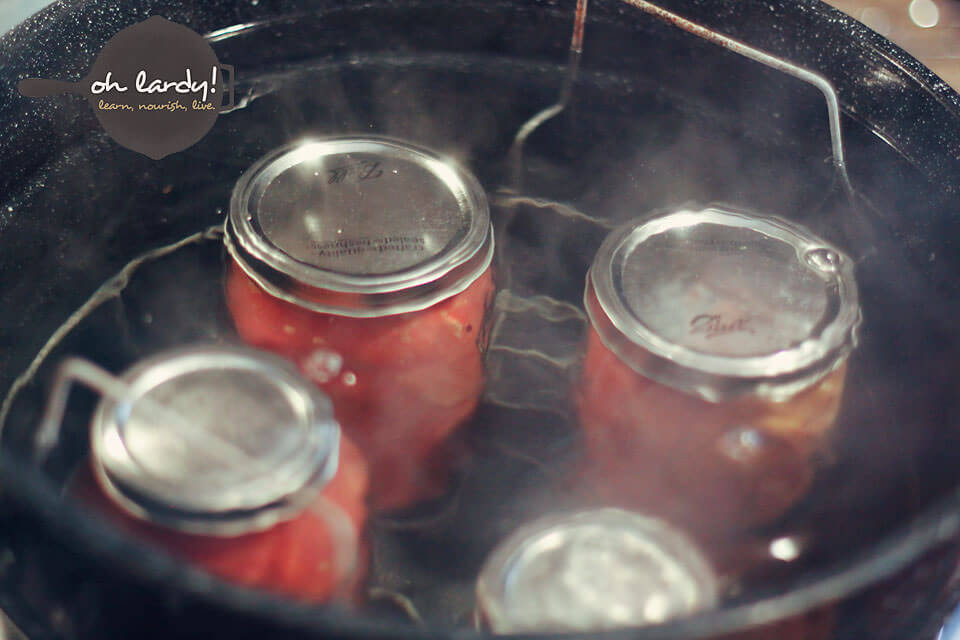
- Now that your jars are filled and the lids are on, it is time to ‘process' or can the jars. Your canning pot should be at a boil.
- Gently place the jars in the rack of the pot. They can be close together but should not touch (the boiling and jostling in the water may interrupt the sealing process).
- Submerge the rack into the water.
- It is very important to have the jars covered by an inch of water. (I sometimes need to add some boiling water during the process to ensure this). I put the lid on the canner halfway, leaving some room for steam to come out.
- Once the jars are submerged, set your timer for 45 minutes (45 for quarts, 40 for pints).
- When the time is up, carefully lift your jars out of the water using the jar grabber. Place on the counter (I put a thin dishtowel under them). Let cool overnight.
- Test the seal by pressing on the top of the jar. If you hear a ‘popping' noise, it is not sealed. If you hear nothing, it is properly sealed.
- Jars can be kept in your pantry or a dark, cool place for up to a year.
- Thanks to Kelly Liston for taking these AWESOME photos. I am a terrible photographer, but am trying to learn!
- If you have a jar that fails to seal, you can put the tomatoes in your refrigerator and use within a week or two. Some people do reprocess…using a clean jar, new lid, etc. refill and reprocess. I have never tried to reprocess. I have only had a seal fail once (on a blueberry sauce I was canning). I stuck the jar in the freezer and used it later.
- If you live at a higher altitude you may need to adjust your time. Please consult this book or this site for information on these times.
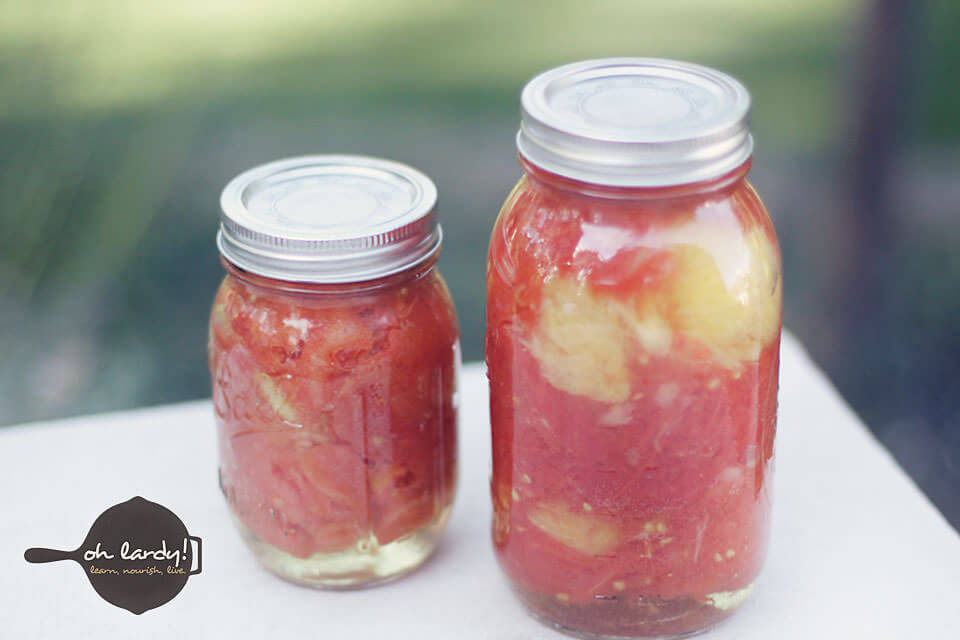
- You will notice separation of liquid (on the bottom) and tomatoes (on top). That is totally normal and nothing to be alarmed about!
- Headspace is important as you do not want to overfill your jars. This will cause a failure with the sealing process.
- If you are reusing mason jars and their lids and bands….You CAN reuse the bands/rings but a lid can only be used once. You need to have a new lid for canning.
- These lids do contain some BPA. Tattler makes lids that are reusable and do not contain BPA. I have never used them yet, so can not give feedback.
Pin It!





Looks great! I assume you only use organic tomatoes? Have you ever tried conventional? Any issues with taste?
I have used organic tomatoes, organically grown tomatoes and tomatoes out of my garden (which are organic in the sense that I do not use any chemicals but my neighbors do on their lawns, etc. so I can’t really control the whole soil quality thing with runoff, etc.) Out of season, conventional, grocery store tomatoes would be awful…because they are awful fresh. I think if they taste good fresh, they will be good canned. Some people only can roma tomatoes, or beefsteak, etc. For my purposes, a mixture (like I used in the video) is just fine! Last summer was my first summer canning, so I only have that experience to go by. The tomatoes were great! I use them mostly in soups, chilis, spaghetti sauces, etc. You can also can crushed or diced tomatoes but I think canning the whole/half/quartered tomatoes is easier. Then if I need crushed tomatoes, I open the jar, put in a bowl or pot and blend quickly with my stick blender (or puree in the vitamix).
Good luck!
Well done!!!!
Thanks, Mia 😉
Well done!!!!
Great article!!
Thank you- Richard.