How to Raise Meat Chickens – Part 4
Oh Lardy! is a participant in the Amazon Services LLC Associates Program, an affiliate advertising program designed to provide a means for us to earn fees by linking to Amazon.com and affiliated sites.
Its done. The chickens were harvested. They were actually harvested back at the beginning of November. And I am just now getting this post to you. I struggled with what EXACTLY to share with you. I mean, it is a post about killing chickens. Yikes. In the end, I have decided to share with you my experience in how to raise meat chickens. I am not going to share with you a “How to dispatch and gut a chicken.” As it turns out, there are other people that have done this and I have learned from them! So, if you are curious about how to actually dispatch a chicken when harvesting the chicken for meat, check out youtube. I love Justin Rhodes channel – lots of good stuff there.
So, here are my chickens, shortly after harvest, air chillin', for a day or two before going to the freezer.
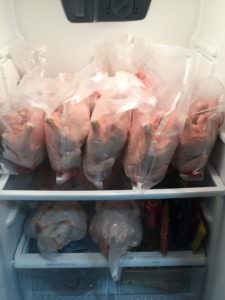
That is a lot of chickens, friend. A LOT. Since harvest, we have eaten 3 chickens. Of course they are delicious, and before each meal we all thank them for their sacrifice and for nourishing our family. Anyway, about the day!
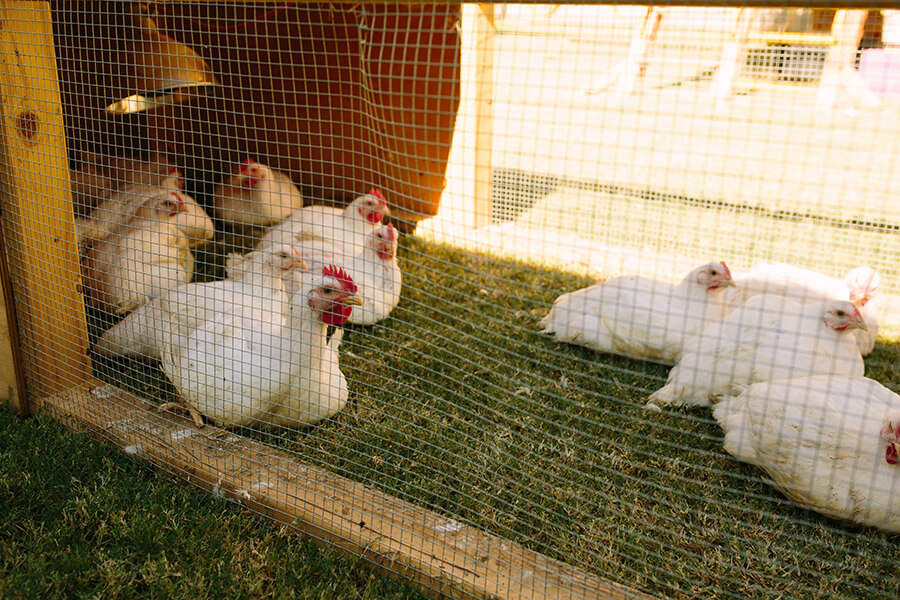
We chose to harvest these chickens at the beginning of November simply because of their size. Cornish Cross meat chickens are ready for harvest anywhere between 6 and 10 weeks of age. Ours were 8 weeks old and when I weighed a big one that morning, he weighed 9 pounds. We were hoping for finished birds between 3 and 5 pounds. We could have waited another week of course, but honestly, I was sad watching these guys. They could barely move around they were so heavy. See, they are all just laying down and relaxing. Also, my husband's work schedule was a consideration. He was home, so it was happening!
We had a simple set up. Dispatching station, scalding station, plucking station, and gutting station. My husband was amazing and did ALL of the dispatching. Can I just say, that slicing a chicken's neck is a skill that takes practice. Bless my sweet husband for taking on this task and learning rather quickly! He also was in charge of the gutting. He thought that the kids and I had the grossest job – plucking. So he was happy to do the other jobs!
Here is our dispatching station. This picture was taken after we harvested a few birds. There is blood, of course. If you don't want to see it, close your eyes and scroll!

I thought this was the hard part. There is nothing fun about killing an animal and there is definitely skill in making it a quick and relatively painless death. I will say, pictured here is a restraining cone big enough for a turkey. It is definitely TOO big for a chicken. We found it to be important that the chicken's feet be OUT of the cone. This cone was so big that the chicken, if I didn't hold its feet, would get its feet tucked in and push against the side. No bueno. Just trust me.
Here's me using the restraining cone for the first time:
After the chicken had passed, took a couple minutes, it was then time for the scalding station:
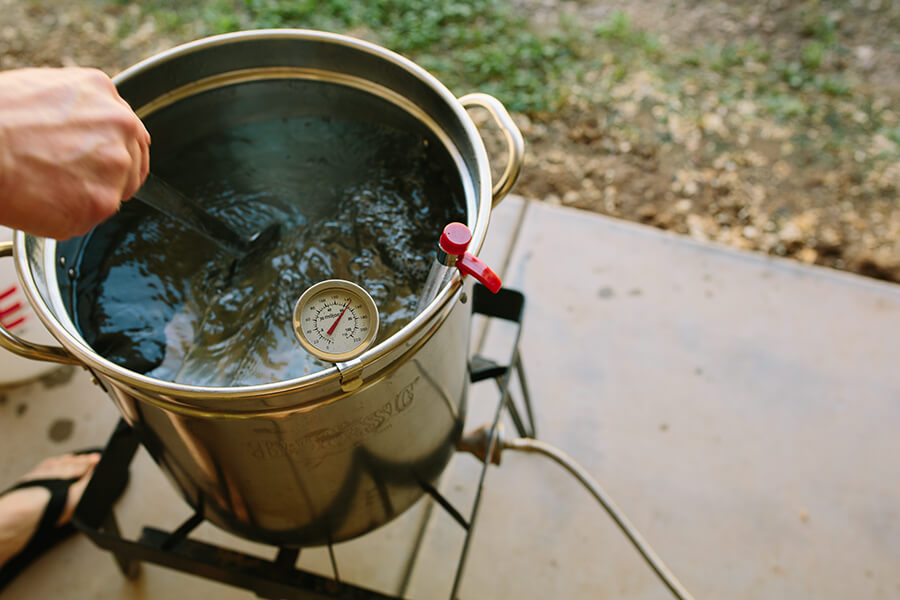
We kept the water temperature around 145-150 degrees Fahrenheit. The point of the scalder is to loosen the feathers so that they slide out of the skin easily. After dipping in the scalder they went into an ice bath, quickly, to cool the skin.
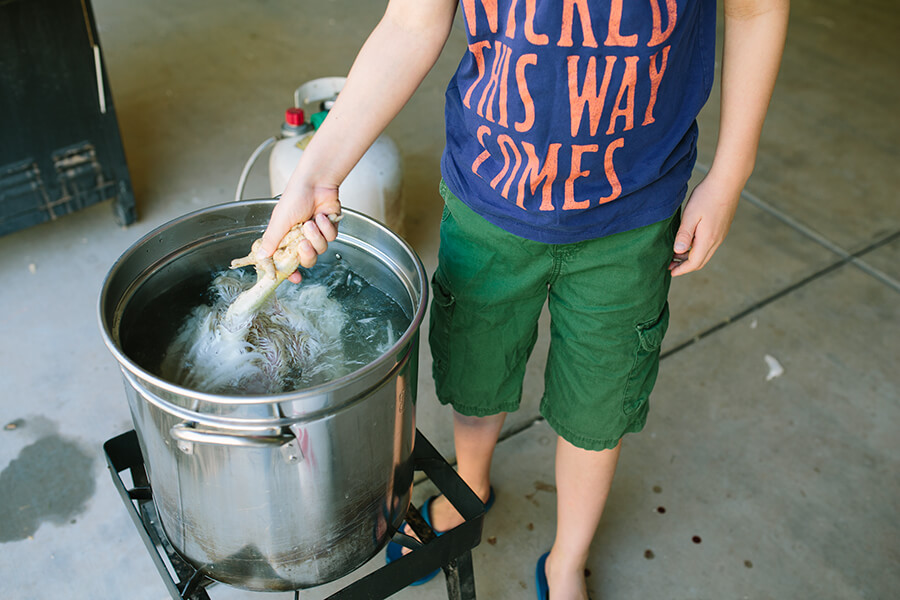
Both of my boys helped with scalding the chicken. The water was hot, but not hot enough to feel burned if it splashed on your skin. They both liked this job because it was the easiest. The boys had two jobs. Scald the chicken and pluck the chicken. Neither of them liked plucking. Why? Because it was tedious. And it took FOREVER. About 20 to 30 minutes per bird. A mechanized chicken plucker would have been AMAZING and if we ever do this again, we will have one. 30 minutes per bird or 30 seconds per bird. It would be a HUGE time saver.

The feathers did come out rather easily. But there were just so MANY! And they had these teeny feathers that we had to pull out one at a time. And the FLIES!!!! After the flies had found us, I found a neighbor who had this tiny clip on fan that we clipped to the other side of the table to blow across the chicken. It helped a little bit. Next time I will have a bigger fan I can set on the table and have it blowing across the whole thing. The flies were so annoying. And the wet chicken feather smell was interesting. And by interesting, I mean gross. In all of my research planning for this day, I never read that flies would be an annoyance and that there would be an aroma. So, there. Now you know.
After the feather plucking, the chickens went inside to my husband, where he gutted and cleaned them. This technique was also something we learned on YouTube. After the first one, he got into a groove. We did save the hearts, livers, gizzards, and necks. We cut off the feet, peeled them, and then froze them for use in bone broth. If you are wondering what the heck you are supposed to do with the organ meat, check out this post, The Offal Truth.
Once the chickens were cleaned and gutted, they were put into a bag and set into the fridge to air chill for a day or two. This allows the rigor in the meat to do its thing and work its way out. Don't skip this step. Otherwise you will have tough meat and that is no fun. When the chickens had air chilled, we vacuum sealed them and then popped them in the freezer. There they will stay until it is dinner time.
We have a good range of sizes in our freezer. Our smallest was just over 4 pound and our biggest was just over 7 pounds. Most of the birds in our freezer are in the 5 and 6 pound range. In hindsight, we wished we had cut off the wings so that we could have a chicken wing night! That would have been awesome. Next time.
So, will there be a next time? We got that question a lot right after we processed all of these chickens. I would say yes, but not any time soon. The raising of the chickens was easy. The processing took a lot of work. Having a plucker for the feathers will be so helpful, and we would definitely look in to that. Overall it was a good experience. We learned A LOT and gained some new skills in the process. My kiddos love when we have one of “our” chickens for dinner. They think it is special – and they should! They are the best chickens in the world because we got to love on them when they were growing up! And we are making sure that their lives serve a good purpose.
While I decided not to share any video that I captured that day, I did decide to share with you this one clip of my first attempt to put a chicken into the restraining cone. I had never done this before!
Pin it!